
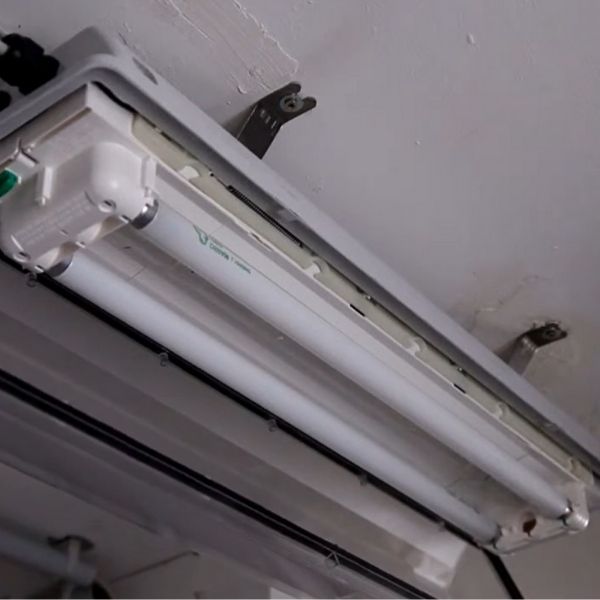
Explosion-proof (Ex) lamps are critical in hazardous environments—oil rigs, chemical plants, mining sites, and more. When they fail, safety risks and operational downtime follow.
But before calling a technician, try these systematic troubleshooting steps to identify and fix the problem. This guide covers:
✔ Common causes of Ex lamp failure
✔ Step-by-step diagnostics (with safety precautions)
✔ When to replace vs. repair
✔ Preventive maintenance tips
Let’s get your Ex-proof lighting back online—safely and quickly.
⚠️ Safety First: Before You Start
Explosion-proof equipment must be handled with extreme care. Follow these mandatory precautions:
✅ Power off & lockout/tagout (LOTO) – Disconnect power before inspection.
✅ Use approved tools – Non-sparking (brass/aluminum) tools only.
✅ Check for gas/vapor leaks – Use a gas detector if in a hazardous zone.
✅ Wear PPE – Gloves, safety goggles, and anti-static clothing.
✅ Follow manufacturer guidelines – Never modify Ex-certified components.
⚠️ Warning: If unsure, consult a certified Ex technician. Tampering with explosion-proof seals can void certification and increase explosion risks.
🔍 Step-by-Step Troubleshooting Guide
Step 1: Verify Power Supply Issues
Symptoms: Lamp doesn’t turn on at all, no humming sound.
Possible Causes:
- Tripped circuit breaker or blown fuse
- Loose or corroded wiring
- Faulty power source (generator, UPS, or main supply)
How to Fix:
- Check the circuit breaker/fuse – Reset or replace if blown.
- Test voltage at the lamp terminal (using a multimeter).
- Expected reading: Match the lamp’s rated voltage (e.g., 120V, 230V).
- No voltage? → Issue is in the wiring or power source.
- Inspect connections – Tighten loose wires (ensure Ex-rated junction boxes are properly sealed).
⚠️ If power is present but the lamp still doesn’t work, proceed to Step 2.
Step 2: Inspect the Bulb (LED, Fluorescent, or HID)
Symptoms: Flickering, dim light, or no light despite power.
Possible Causes:
- Burnt-out bulb
- Loose or damaged bulb base
- Incompatible bulb type (wrong wattage or voltage)
How to Fix:
- Power off & remove the bulb (follow Ex lamp disassembly rules).
- Check for blackened or broken filaments (for incandescent/HID).
- Test with a known-working bulb (same wattage & voltage).
- Still no light? → Problem is in the ballast or driver (Step 3).
- Ensure proper seating – A loose bulb can cause poor contact.
💡 Pro Tip: For LED Ex lamps, check for driver failure (common in older models).
Step 3: Examine the Ballast or Driver (For Fluorescent/HID/LED Lamps)
Symptoms: Lamp flickers, takes too long to start, or doesn’t turn on.
Possible Causes:
- Faulty ballast (for fluorescent/HID)
- Failed LED driver
- Overheating due to poor ventilation
How to Fix:
- Listen for humming/buzzing – A failing ballast often makes noise.
- Check for burns/swollen capacitors (visual inspection).
- Test with a multimeter (if skilled):
- Resistance test: Infinite reading = open circuit (bad ballast).
- Voltage test: No output = faulty driver.
- Replace if defective (use only Ex-certified replacements).
⚠️ Never bypass a ballast—this can overheat the lamp and cause explosions.
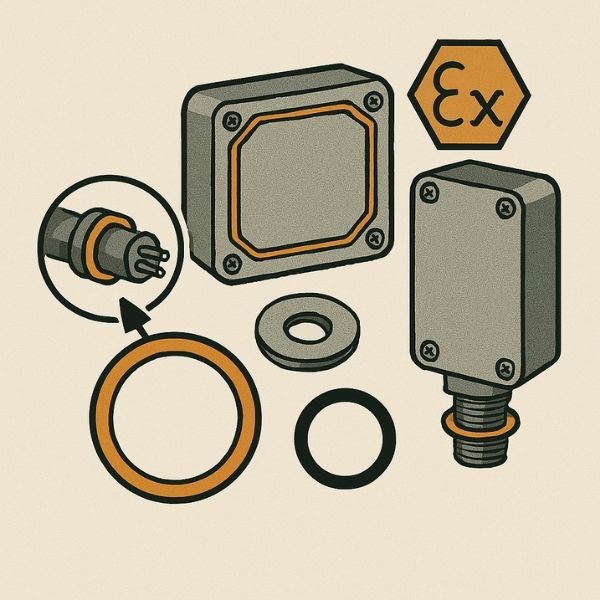
Step 4: Check the Ex-Proof Seal & Enclosure Integrity
Symptoms: Lamp works intermittently, moisture inside, corrosion.
Possible Causes:
- Damaged gasket or seal (allows dust/moisture in)
- Cracked glass or housing (compromises explosion protection)
- Improper installation (loose screws, misaligned parts)
How to Fix:
- Inspect the enclosure for cracks, dents, or rust.
- Check gaskets – Should be flexible, not brittle or torn.
- Tighten all screws (use a torque wrench to avoid over-tightening).
- Clean contacts – Corrosion can disrupt electrical flow.
🚨 If the seal is broken, the lamp is NO LONGER Ex-rated—replace immediately.
Step 5: Test the Switch & Wiring (If Applicable)
Symptoms: Lamp turns on/off randomly, switch feels loose.
Possible Causes:
- Faulty switch (mechanical or electronic)
- Short circuit in wiring
- Loose connections inside the junction box
How to Fix:
- Test the switch with a multimeter (continuity check).
- Inspect wires for burn marks, fraying, or melting.
- Tighten all terminals (ensure proper torque).
- Replace damaged wiring (use Ex-rated cables).
⚠️ Never use electrical tape as a permanent fix—it’s not Ex-compliant.
Step 6: Check for Overheating & Ventilation Issues
Symptoms: Lamp shuts off after a few minutes, smells burnt.
Possible Causes:
- Blocked vents (dust, debris)
- Wrong ambient temperature (Ex lamps have operating limits)
- Overloaded circuit
How to Fix:
- Clean vents & heat sinks (use compressed air).
- Ensure proper airflow around the lamp.
- Check ambient temperature (most Ex lamps work between -20°C to +50°C).
- Reduce load if multiple high-wattage lamps are on one circuit.
🔥 Overheating is a major fire/explosion hazard—address immediately.
Step 7: Verify Compatibility with Hazardous Zone Requirements
Symptoms: Lamp fails in a specific area but works elsewhere.
Possible Causes:
- Wrong Ex certification (e.g., Zone 1 vs. Zone 2)
- Incorrect IP rating (dust/water ingress)
- Gas group mismatch (e.g., IIA vs. IIC)
How to Fix:
- Check the lamp’s Ex marking (e.g., ATEX, IECEx, NEC Class I Div 1).
- Compare with zone requirements (e.g., Zone 1 needs “Ex d” or “Ex e”).
- Ensure proper gas group (e.g., IIC for hydrogen/acetylene).
- Replace if non-compliant—using the wrong lamp is extremely dangerous.
📌 Example:
- ATEX: Ex d IIC T4 Gb → Suitable for Zone 1, Group IIC (hydrogen), T4 temp class.
- NEC: Class I, Div 1, Groups C&D → For flammable gases like propane/ethylene.